By Walt Meier

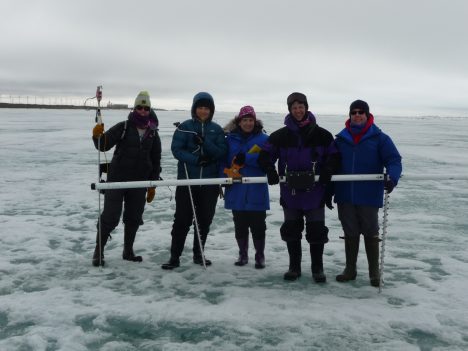
The Red Team on sea ice.
May 28, 2016 – This morning we did our first modeling exercise. We started simply, modeling the ice’s thickness as the balance between ice growth and ice melt. Ice grows during the winter and melts during the summer. But from this simple start, a lot can be gleaned. The growth and melt rates are influenced by many factors – the amount of solar energy onto the ice, the amount of energy lost from the surface, the heat from the ocean below. We used a simple model to adjust these parameters to see how the thickness responded. Even such a simple model can demonstrate how the sea ice responds to climate change. For example, just a slightly darker surface (e.g., due to more melt ponds during the summer) results in a thinner ice cover because there is more melt.

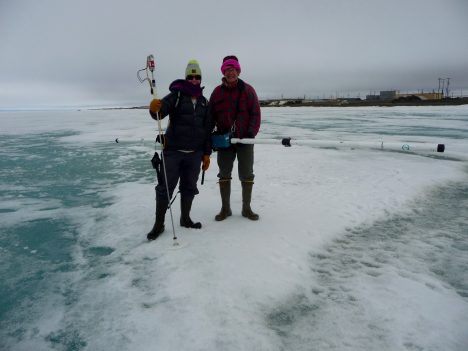
Two members of the Red Team holding the electromagnetic induction instrument to measure sea ice thickness.
In the afternoon, my group’s activity for the day was ice thickness measurements, led by Jackie Richter-Menge of the U.S. Army Cold Regions Research and Engineering Laboratory in New Hampshire. There were two methods we were shown how to use – drilling with an ice auger (a boring tool) and measuring thickness directly, as we did the day before, and using an electromagnetic (EM) induction instrument. The EM creates a magnetic field that is differently affected by the ice and water. The modification of the field indicates the thickness of the ice. The EM looks like a long pole with a box about the size of a car battery in the middle. You carry the box with a harness around your shoulder and the poles sticking out to each side. You need to hold the pole parallel relative to the ground. Working with it looks rather like a high-wire walker with a balance pole. Unfortunately, the EM instrument was not working, so we couldn’t collect any data, though we took turns carrying it to get an appreciation of what it’s like to use it. It’s just heavy enough and awkward enough to be a challenge, but when it works, it can provide a nice transect of thickness estimates and it’s quicker and easier than drilling holes.

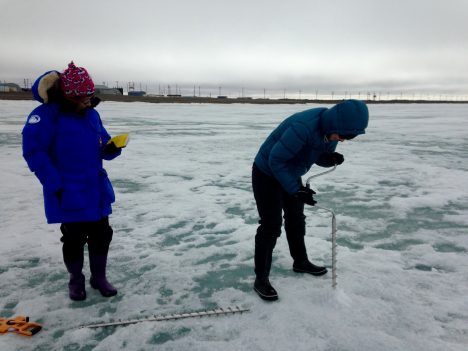
Two members of the Red team drilling with an ice auger.
Without the EM functioning, we had to rely on the ice auger. This is the most accurate way to measure sea ice thickness…or is it? Drilling a hole and using a tape measure is the most direct way to measure thickness and it is indeed most accurate – but only at that point. The ice is tremendously variable. As we saw during our morphology activity, thick 5 meter (16.4 feet) ice can be right next to first-year ice of 1 meter (3.3 feet) or less thickness. You could drill a hole and make the most accurate measurement possible, but it may be totally unrepresentative of the surrounding ice. This can be addressed to some degree by taking several measurements, but you can only cover so much area during a given expedition. It’s just not possible to cover 25-50 km model and satellite observation grid cells in a reasonable of time.
We set out a 200 meter (656 feet) line, drilling holes every 25 meters (82 feet). We also used a snow probe (a long stick you push down through the snow) to measure snow depth every 5 meters (16.4 feet). Part of the trick of doing these measurements is to make sure the observer doesn’t interfere with the measurement. So you don’t want to be making footprints where you measure, because you compress the ice. We set up the convention of walking on the left and measuring on the right. It sounds simple enough, but if you’re not always mindful of that, it’s easy to step over the line.
With our work finished, we ended the day in the traditional way for the Memorial Day weekend: with a BBQ! We had the traditional meal of hamburgers, hot dogs…and reindeer sausages. Along a number of delicious potluck sides brought over by the other huts, it was a great meal. We relaxed and enjoyed good food and good conversation while recounting our day’s adventures and discussing our research.


